SILHOUETTE SHADOW DISPLAY
- three16ths
- Jan 30, 2023
- 2 min read
Updated: Aug 24, 2023
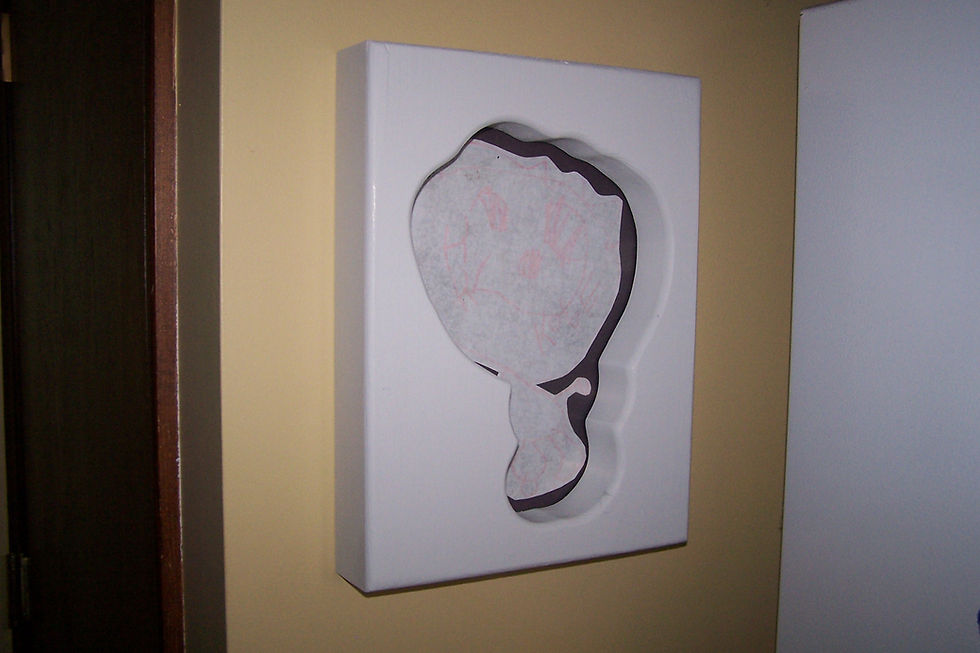
I came up with this idea celebrating my grandson's wedding.

I chose two pictures from the wedding that had good side views of my grandson and his wife.


I made enlarged black and white copies of the pictures. Then, using carbon paper, I traced out their silhouettes onto a large piece of paper. I mounted a spot light up on the workbench, and started lining up small blocks of wood the create the shadow to line up with the silhouette outline.


I used multiple types of woods with a large variety of colors and grains, to add some interest to an otherwise dull display, for times when the light is not on. I made many trips to my various sanders, to form just the right curves on the shadows.


I worked at certain details, such as slicing thin cuts in the blocks to create the rough look for the beard and mustache. These slits had to be angled towards the center of the spotlight.
The eyelash took a lot of experimenting to get just the right look.

I didn't want to cut out a shape on a board until I could see that this idea was going to be able to succeed. Not only was shaping all the wood a concern, but finding the proper light fixture was a major variable. I ended up using a 17 watt LED spotlight with just a 25° wide beam. You need a small focus of the light. The 4,000 Kelvin light color is bright enough for it to be seen even in the daylight, but not so glaring that it would be overpowering in the dark.

There aren't any light fixtures made to hold a bulb this big, so I had to make my own.


I cut a simple heart shape out some clear pine that didn't have many distinct grain lines in it. I didn't want any grain lines to distract from the shadows.

I used my strip sander to get into the tight spot for sanding the edge smooth. Note that this is not a bandsaw. This is a small bandsaw that I converted into a strip sander.

I put a glossy finish on all sides of the small pieces of wood, with the exception of the base of the pieces. I left the base unfinished so that the glue would bond correctly to the wood. For this reason I didn't put any finish at all on the heart. I used Titebond's Quick & Thick glue for this. It allows me to shift the pieces a little, in order to get them exactly where they need to be. Then I just need to hold the piece in place for about a minute. The glue dries clear, so if there is a little glue that oozes out, after I wipe up the excess, the remaining film doesn't show.

When gluing up, use painters tape to mark the exact location of the pieces, so that when you're pressing the glued up piece in place, you can be sure that it didn't slide out of place.


It felt good to hear everyone's reaction when they saw the finished project. I like how it looks good with and without the light.


Comments