CEMETERY PICTURE FRAME
- three16ths
- Jan 16, 2016
- 2 min read
Updated: Jan 17, 2021
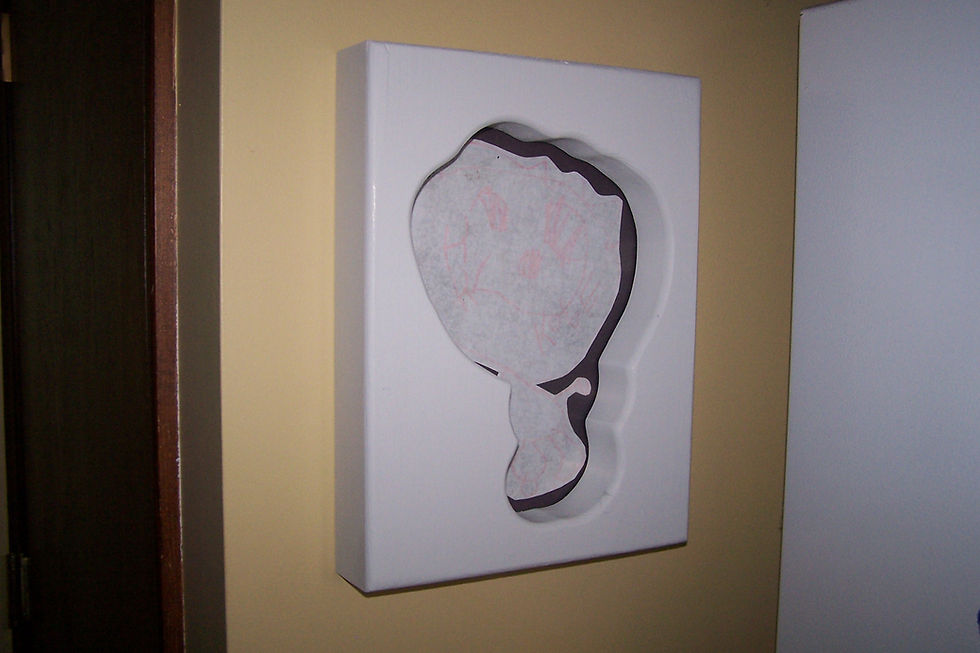
Over the past ten years I’ve made several picture frames for friends and acquaintances. Every time I’ve made one, I kept improving on the ideas. This is my latest idea. Even as I was putting it together I thought of how I could improve on it.

This uses 3/16” (.220″) plexiglass for the back, and 3/32” (.080″) plexiglass for the front. I cut them on my radial arm saw using a 72 tooth carbide tip blade. I’ve found the finer the tooth, the smoother the cut is, especially on plexiglass. I’ve also used the bandsaw for this. Still a fine tooth blade is important to keep from chipping the plexiglass.

You can smooth off the edges with a belt sander.

The plexiglass was cut to 7 1/2” tall x 7” wide in order to accommodate either vertical or horizontal 4” x 6” pictures. For the stainless steel 8-32 screws I drilled and tapped the 3/16” plexiglass at the four corners. The ½” square aluminum bar was drilled and tapped for 10-24 screws. The bottom center screw is a flat head screw recessed into the back plexiglass. The bottom left and right screws are removed in order to bend the front plexiglass out, to insert the picture.

When drilling a hole in the thinner plexiglass, sometimes it may crack. Using a step-bit will prevent cracking.

The top three screws are never to be removed because I sealed the top on order to keep water from getting in to the picture. Use at flat tip on a soldering iron to melt the two plexiglass sheets together. You’ll want to slowly push forward with the iron, to push the melted plexiglass into the gap.

Another method I’ve used is to grind a slight bevel on the top insides of both plexiglasses and with a toothpick fill the beveled void with epoxy.


Also fill the top screw heads with the epoxy to prevent anyone from unscrewing the sealed top edge.

It is a good idea to cut a point on the bottom of the square bar to make it easier to push into the ground. I cut the 1/2″ square bar around 30″ long.


Comments